This is a guide for addon managers who will manage orders in APEX.
When a customer has successfully ordered an addon via their APEX profile, the order will show up in the order list of the the project. Addon managers and admins are the ones who can manage orders.
Follow these steps to approve/deny an order:
- Sign into APEX and press the menu button to the top left.
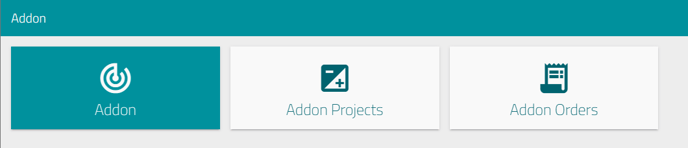
- Choose the "Addon" option.
- Then you will be show the addons menu, where you press the "Addon orders".
- New addon orders will be added to the list, and the ones that are under 7 days old will also be tinted yellow. You can filter your orders by using the filter options, which you can read more about here.
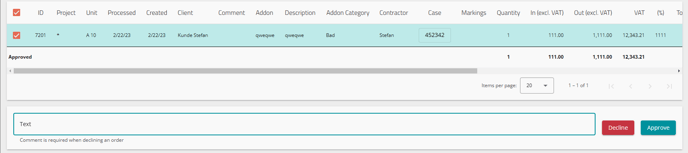
- To approve/deny an order, you simply mark the checkbox to the left for the order. At the bottom of the screen you will then be shown a few buttons and a text field.
- One of the buttons will be a green APPROVE button, that is used to approve an order. After an order is approved, a case will be created that is related to the order, and the contractor that is assigned the addon, will also be assigned the same case. Before you press the approve button, you can use the text field here to adda comment to the order/case.
- The other button will be a red "DENY" button, that is used to deny or stop an order. Denying an order requires you to fill out a commentary, usually best to describe why the order was denied. Fill out the text field with a suitable reason, and press "Deny".
This can also be done to an order that is already approved, only then you need to find the approved order, fill in the text field and press "DENY". Denying an order will send the filled in message to the involved people, so that they are informed of "why".